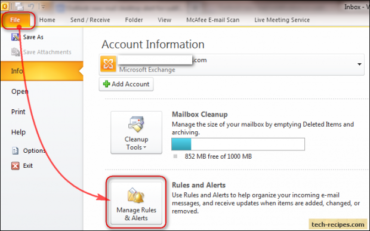
A rule is an action that is done automatically to incoming or outgoing messages, based on conditions that have been specified. It can be created from a template, from a message, or using your own conditions.
Note: these steps are for those using Microsoft Outlook 2010 (not the Web App).
Create a rule
Below are the steps needed to automatically categorize a message from your supervisor to the “From Supervisor” category. (If you haven’t created a category, see the March 20, 2014 post about this.)
1. Click on a message from your supervisor.
2. Home tab, Move group, Rules.
[Note the first option to always move messages from this person (to a designated folder). If this is the condition preferred, clicking here is a quick way to accomplish this rule. This is not what is being done here; continue to Step 3.]
3. Create Rule.
4. Click box in front of From [Supervisor’s name].
5. Since “Categorize” isn’t listed, click Advanced Options …
Rules Wizard opens, Step 1 (top part) shows the condition;
Step 2 shows the rule so far.
6. Click Next.
7. Click box in front of “assign it to the Category Category” (sets action);
Step 2 now shows the rule with this additional information.
8. Click on Category in the Step 2 area (bottom); established categories appear.
9. Click in the From Supervisor check-box and then click OK.
If this is the first time this category has been used, a dialog box opens asking if it should be renamed. If so, rename it and click OK.
The category name will now appear in the Step 2 area (below).
10. Click Next.
11. Select exceptions in Step 1, if any, then Next.
12. Rule name appears; give it a better description, if preferred.
Step 2 gives an option to run this rule for all messages already in “Inbox”. Click if preferred.
Turn on this rule (Step 2 area) should have a check mark in the box; if not, do so.
13. Finish (Runs the rule; if the option to run this for all messages appears, it may take a while as the rule is run.)
14. Make sure a check mark is in the box in front of the rule for this to run from this point forward.
15. Click OK to close the informational dialog box.
Review message list; if done correctly, all items meeting the criteria set (categorizing messages from Supervisor), should now be categorized as defined (have the color indicator with the message).

